How to integrate ShipFlo with WooCommerce
Automate your daily workflow by connecting your WooCommerce store to ShipFlo. Install, connect, and start delivering smarter in minutes. Follow these steps to get started quickly.
Step 1: Download and Install the ShipFlo Plugin
- Download the plugin ZIP from GitHub.
- Log in to your WordPress Admin Panel.
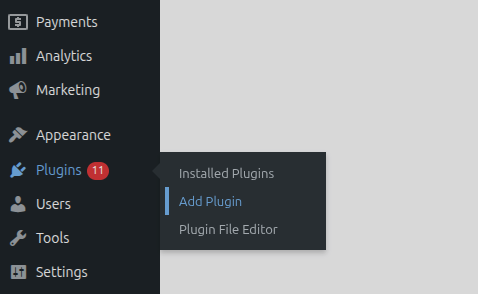
- Navigate to Plugins → Add New.
- Click Upload Plugin at the top.
- Select the ShipFlo plugin ZIP file you downloaded.
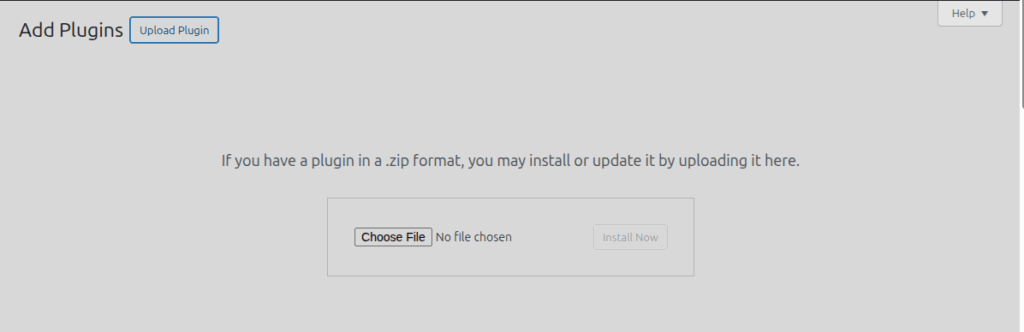
- Click Install Now and then Activate Plugin.
Your ShipFlo plugin is now ready to connect.
Step 2: Generate Your API Key in ShipFlo
- Log in to your ShipFlo dashboard.
- Go to Profile → Create Platform Config.
- Select WooCommerce, enter your Store URL, and click Save.
- Then open the (⋮) three-dot menu → Generate API Key.
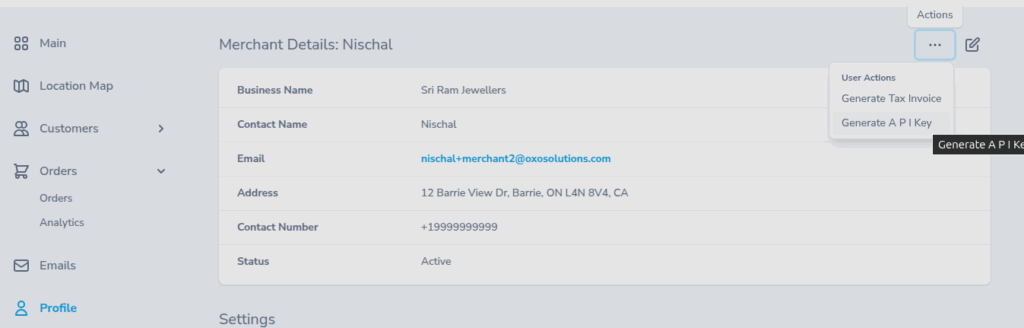
- Click Run, then copy the key that appears.
Keep the key handy — you’ll need it in the next step.
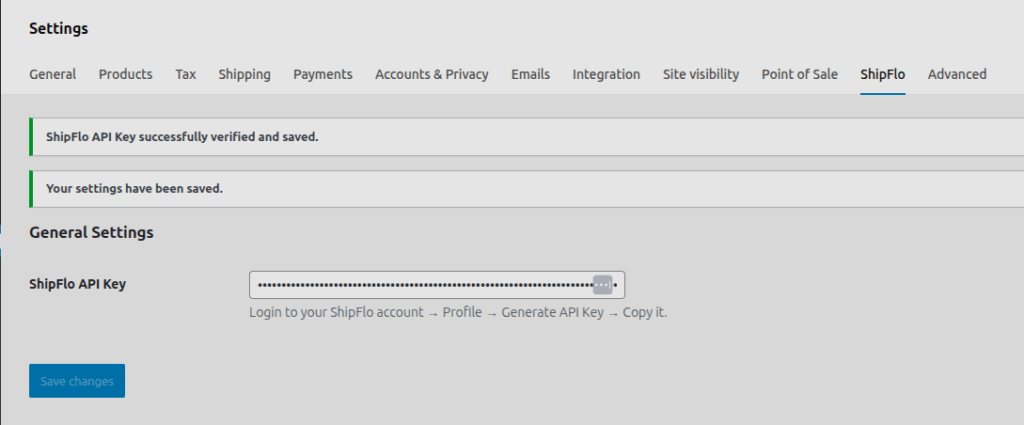
Step 3: Connect ShipFlo to WooCommerce
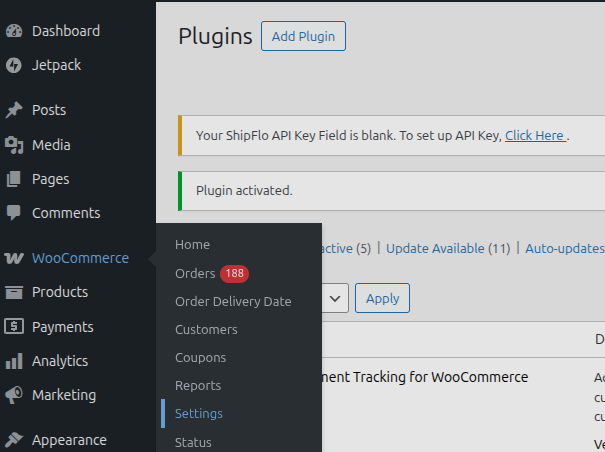
- In your WooCommerce store, go to WooCommerce → Settings and open the ShipFlo tab. Tip: You can also click the “Click here” link on the ShipFlo notice that appears — it will take you straight to the ShipFlo settings tab.
- Paste your API key into the field provided and click Save Changes.
Once connected, only new orders in supported postal codes will sync automatically. Orders outside the service area are intentionally ignored.
Plugin Compatibility
ShipFlo works seamlessly with popular delivery-related WooCommerce extensions, including:
- Delivery & Pickup Date Time for WooCommerce by Coderockz
- Order Delivery Date for WooCommerce (Lite) by Tyche Softwares
Developer Notes & Tips
- Works with all standard WooCommerce order workflows.
- API key is required for store connection.
- For help, email contact@shipflo.com with the subject line: WooCommerce Integration Help.